How to Integrate a Comment System into Your Jekyll Blog
If you’re running a blog on Jekyll and want to let readers leave comments, Disqus is one of the easiest ways to set that up. It works well with static sites, doesn’t need a database, and takes just a few steps to get going.
In this post, I’ll walk you through how I added Disqus to my own Jekyll blog. You don’t need to write any backend code or manage any servers, just a few config updates and you’re done.
1. Create a Disqus Account
Head over to disqus.com and create an account. Once you’re in, you’ll need to register your site. Disqus calls this an “organization,” but it’s really just your blog.
During setup, Disqus will ask you to choose a unique shortname. This is how your blog connects to Disqus behind the scenes.
Once you’ve created your site, you can find the shortname under:
Settings → General → Shortname
Copy that, Jekyll will need it in the next step.
2. Update Your _config.yml
Now that you have your Disqus shortname, add it to your Jekyll site’s configuration.
Open your _config.yml file and add:
disqus:
  shortname: your-disqus-shortname
Replace your-disqus-shortname with the one you copied from your Disqus settings.
That’s all Jekyll needs to know to connect your posts with the right comment thread.
3. Create comments.html
Jekyll doesn’t include a comment section by default, so you’ll need to add one yourself.
Inside your Jekyll project, go to the _includes folder and create a new file called comments.html. Then paste in the following snippet:
{% raw %}{% if page.comments %}
<div id="disqus_thread"></div>
<script type="text/javascript">
  var disqus_config = function () {
    this.page.url = "{{ site.url }}{{ page.url }}";
    this.page.identifier = "{{ site.url }}{{ page.url }}";
  };
  (function() {
    var d = document, s = d.createElement('script');
    s.src = 'https://{{ site.disqus.shortname }}.disqus.com/embed.js';
    s.setAttribute('data-timestamp', +new Date());
    (d.head || d.body).appendChild(s);
  })();
</script>
<noscript>
  Please enable JavaScript to view
  <a href="https://disqus.com/?ref_noscript">comments powered by Disqus.</a>
</noscript>
{% endif %}{% endraw %}
This snippet tells Disqus where your post lives and how to load the right comment thread. It only loads when a post has comments enabled (you’ll handle that in the next step).
4. Enable Comments Per Post
By default, Disqus won’t load on every post, you have to opt in per article.
To enable comments for a post, add comments: true to the front matter:
---
layout: post
title: "My Blog Post"
comments: true
---
You can leave it out if you don’t want comments on a particular post. That way, you stay in control of where the discussion happens.
5. Include the Comments Section in Your Layout
Last step—tell Jekyll where to display the comments.
Open your post layout file (usually something like post.html inside _layouts) and include the comments.html partial wherever you want the comments to appear—typically at the bottom of the post:
{% raw %}{% include comments.html %}{% endraw %}And that’s it.
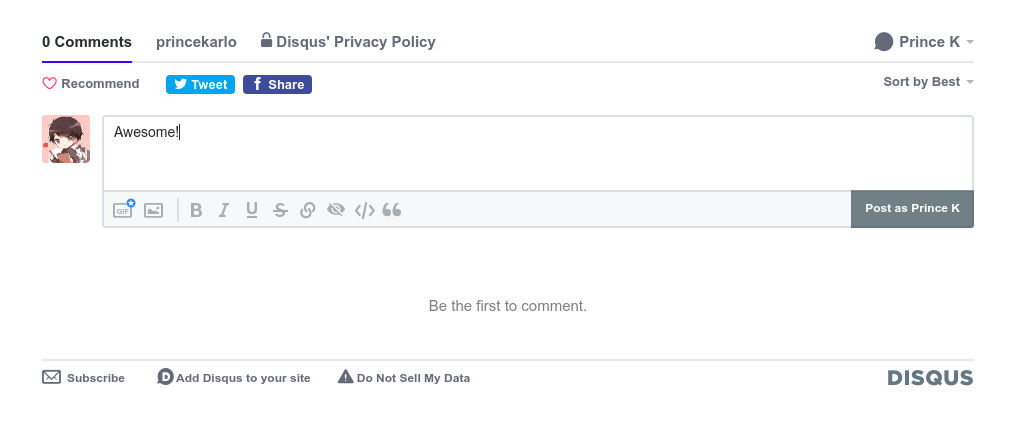
Your Jekyll blog now supports comments. When someone visits a post with comments: true in the front matter, Disqus will show up, ready for replies. You can moderate, manage, and respond to comments right from the Disqus dashboard.
That’s all you need to get a basic comment system running on your Jekyll blog.
Disqus takes care of the moderation and storage, so you can focus on writing. If you’re not into Disqus, there are other options like Commento or self-hosted systems like Giscus, but for most blogs, this setup works fine.
If you have questions or run into any issues while setting it up, feel free to reach out. I’ll do my best to help.